Deploy the App
Let's deploy the app we've created so far. You should deploy your app to apply the haptics to your game.
Before deploying, make sure to save your project.
Save and Deploy is not the same thing! Changes won't be reflected in the game until you deploy the app!
Let's Deploy
To apply the haptic app to your game, two things need to be done first:
- Get the App ID and API Key
- Deploy the app
Create API Key
App ID and API Key are required for accessing this app. You will use these when you link the app to your game. The App ID is automatically generated when you create the app. However, you need to manually generate the API Key.
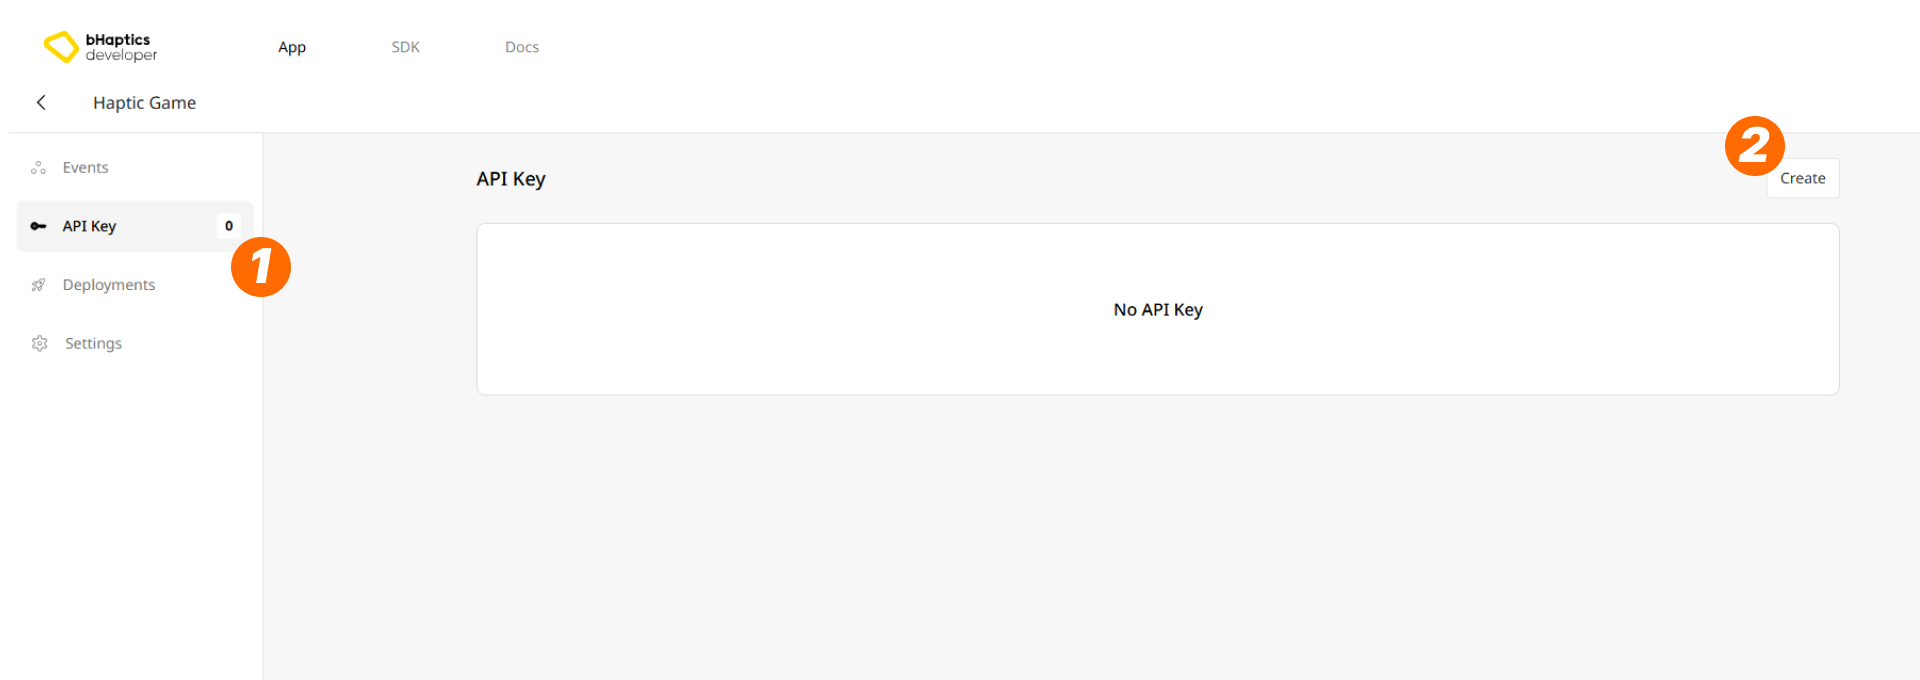
- Move to the "API Key" tab. You can see that there is no API Key in the list.
- Press the "Create" button. Then, a pop-up window will appear.
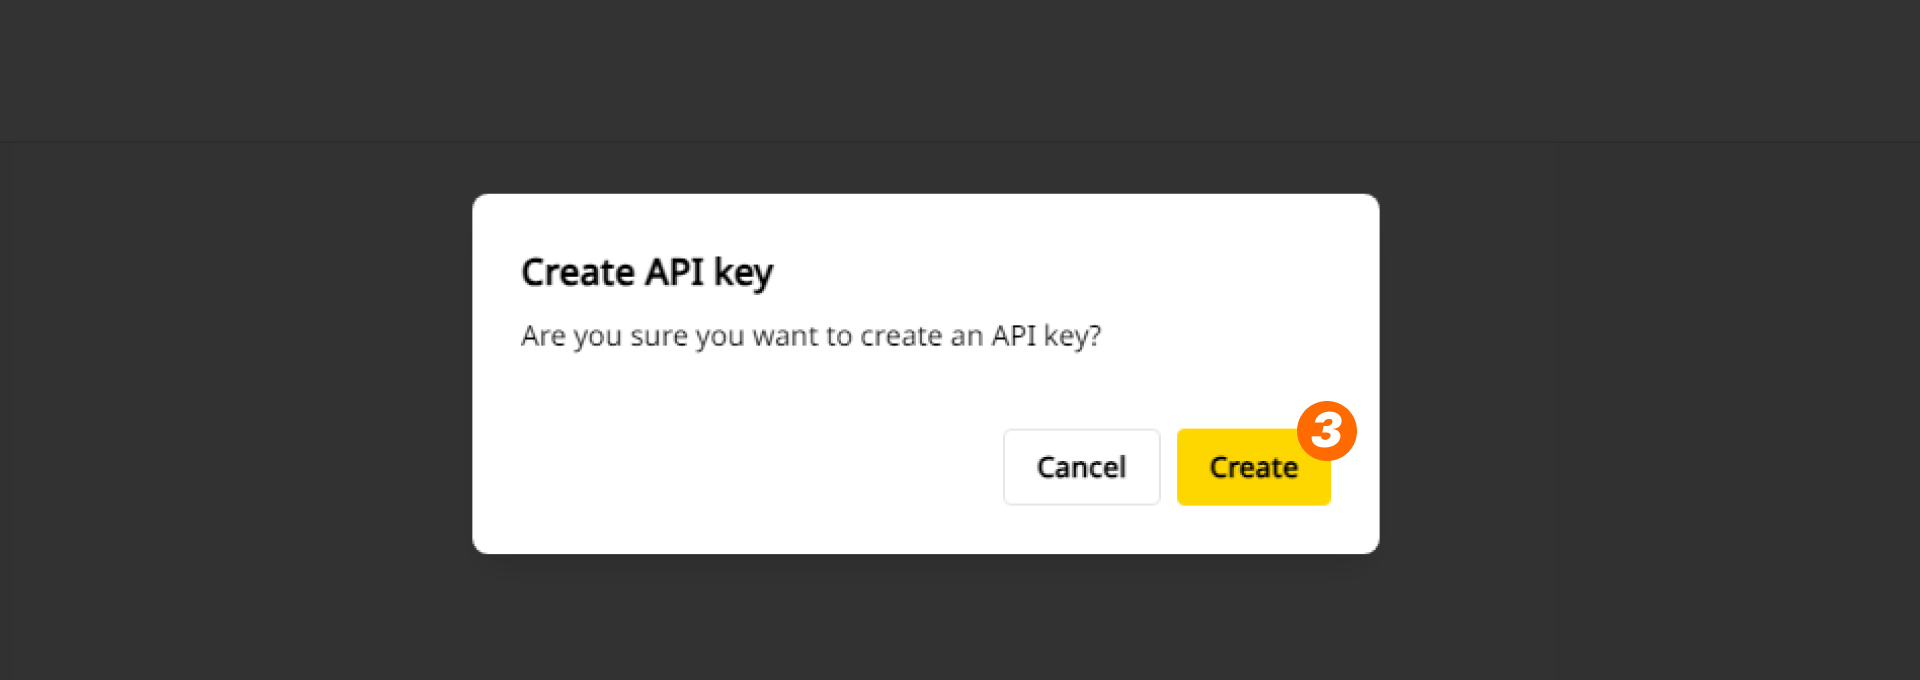
- Press the "Create" button to generate an API Key.
After, you can see that the new API Key was generated in the list.
You can see that the new API Key was generated in the list. You can also delete the API Key by pressing the "Delete" button that appears when you hover over the item.
API Keys should never be shared publicly! If you accidentally expose it, delete it immediately from the Portal.
Deploy

You'll notice that the "Deploy" button is always present at the top right. Let's press it.

- You can write Note if needed. It's also good practice to briefly describe the deployment, but leaving it as blank also works fine.
- Press the "OK" button to deploy.
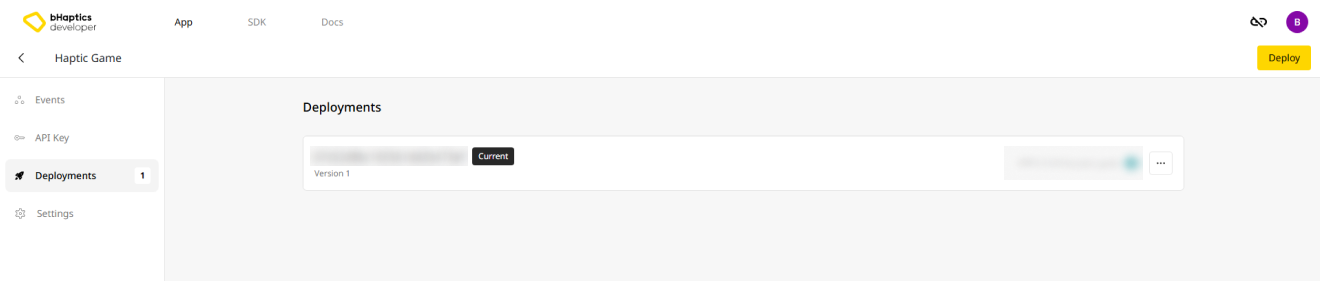
Afterward, when you navigate to the "Deployments" tab, you'll see that the deployment history list has been updated with the record of the deployment you just made.
Settings
When you're ready to apply haptics to your game, you should link the bHaptics App to your game.
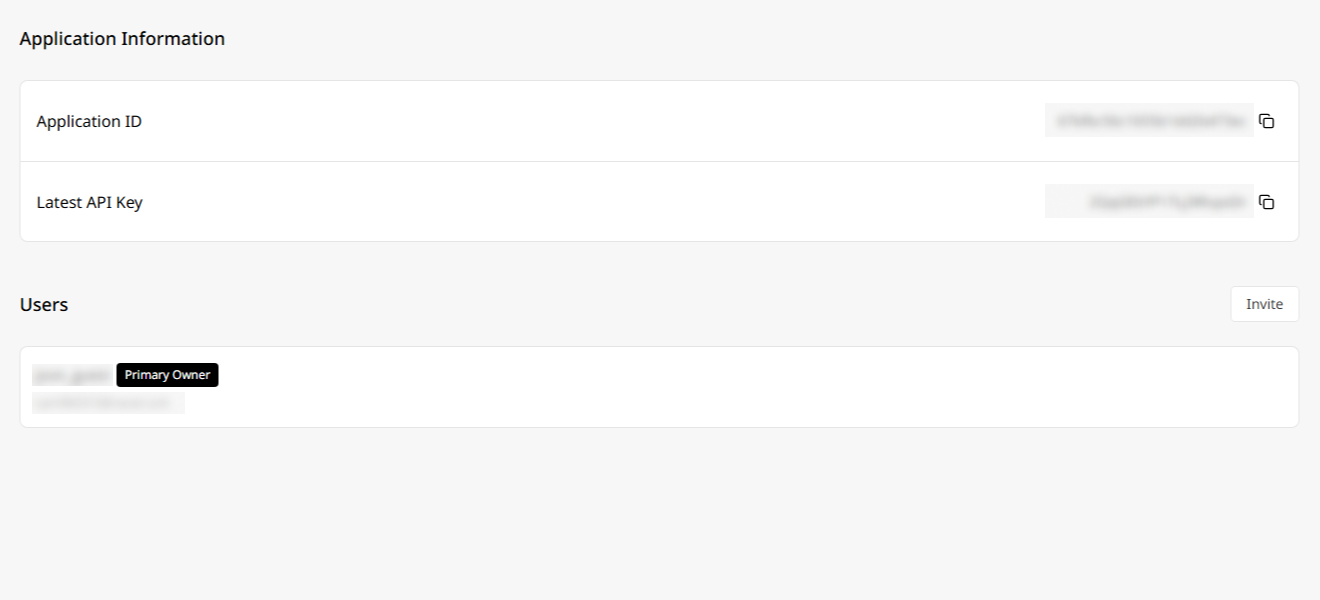
- Browse the App ID and API Key for linking this app to your game.
- You can also invite users to collaborate. Press "Invite" to invite users, granting them access to this application.
Link to the Game
You're ready to apply haptic in your game! The final step is installing the SDK plugin into you game project and linking the game and the app using the App ID and API key.
Please refer to the SDK section to link this app and your game.
Update the App
If you make any changes to the app(such as changing the pattern or renaming the event), you'll need to deploy again.
Change the Pattern
When editing the haptic patterns for events you have created, you do not need to modify or rebuild the game! Our system automatically merges the changes onto a separate build. That's one of the great advantages of our bHaptics ecosystem.
Change the Event
However, if you are adding more events or renaming the event, you'll need to rebuild the game and push it again.
Deployment History
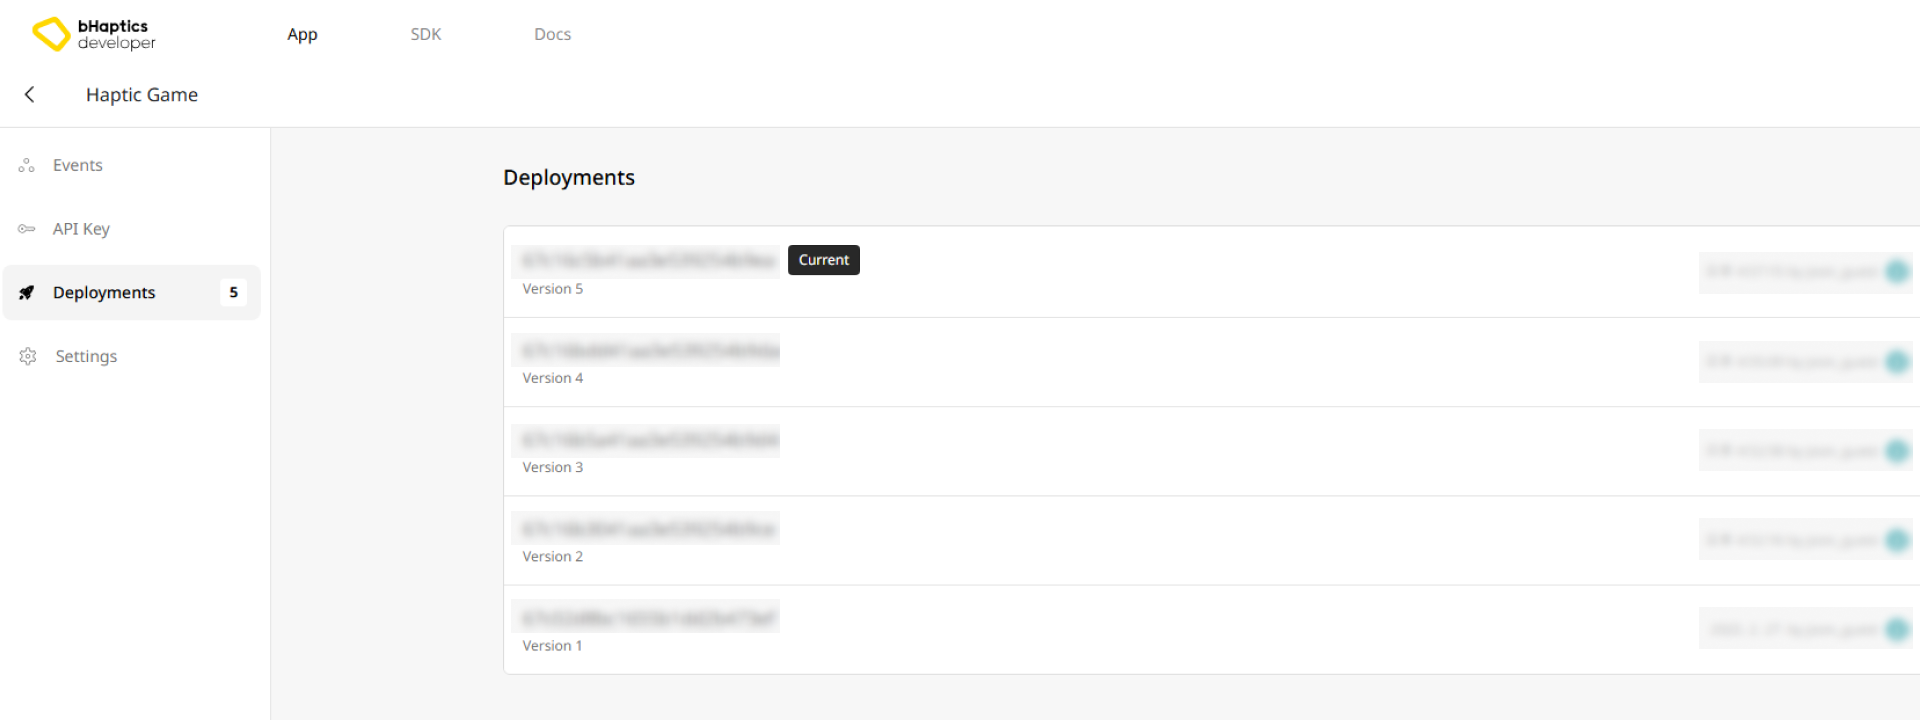
In the "Deployments" tab, you can view the Deployment History. Here, you can check the version of the deployment, the deployment date, and the creator.
Now that we've created a haptic app and gone through the process of applying it to the game, let's explore some best practices for managing the app.